THE PHOTOMETRIC LABORATORY IN CEVLAB
Among the various measuring and testing equipment with which it is equipped, CEVLAB has modern and automated photometric laboratories. The term “photometry” derives etymologically from two Greek words: phōtòs (φῶτός), meaning “of light” and metríā (μετρία), meaning “measure”. Photometry, therefore, is that part of science that deals with measuring light and quantifying the quantities associated with it.
WHAT DOES MEASURING LIGHT IN CONCRETE MEAN?
The first quantity that can be quantified is the energy emitted by light sources and / or devices. To do this, in our laboratories there is an Ulbricht sphere, with a radius of 1m, which allows to measure the luminous flux in lumen [lm] emitted by the object under test. Another quantity that can be measured with our photocells, both fixed and mobile, is the illuminance in lux [lx], which expresses the amount of luminous flux produced that affects a given surface.

Furthermore, we are able to measure the luminous intensity in candelas [cd], that is, the amount of luminous flux that propagates in a given direction within a given solid angle.
Thanks to portable luminance meters, it is possible to measure the luminance in nit [cd / m2] of the device, which corresponds to the amount of flux emitted by a given surface in a specific observation direction.
Finally, the photometric equipment is completed by the colorimeters with which the trichromatic coordinates of the light emitted can be determined and, therefore, the correct color can be verified with respect to an application or a specific customer. With these instruments we can also measure the color temperature in Kelvin [K].
This parameter is of great interest in civil lighting, because it helps to define what atmosphere can be created with a particular source.
HOW ARE THE TESTS CARRIED OUT IN THE PHOTOMETRIC LABORATORY?
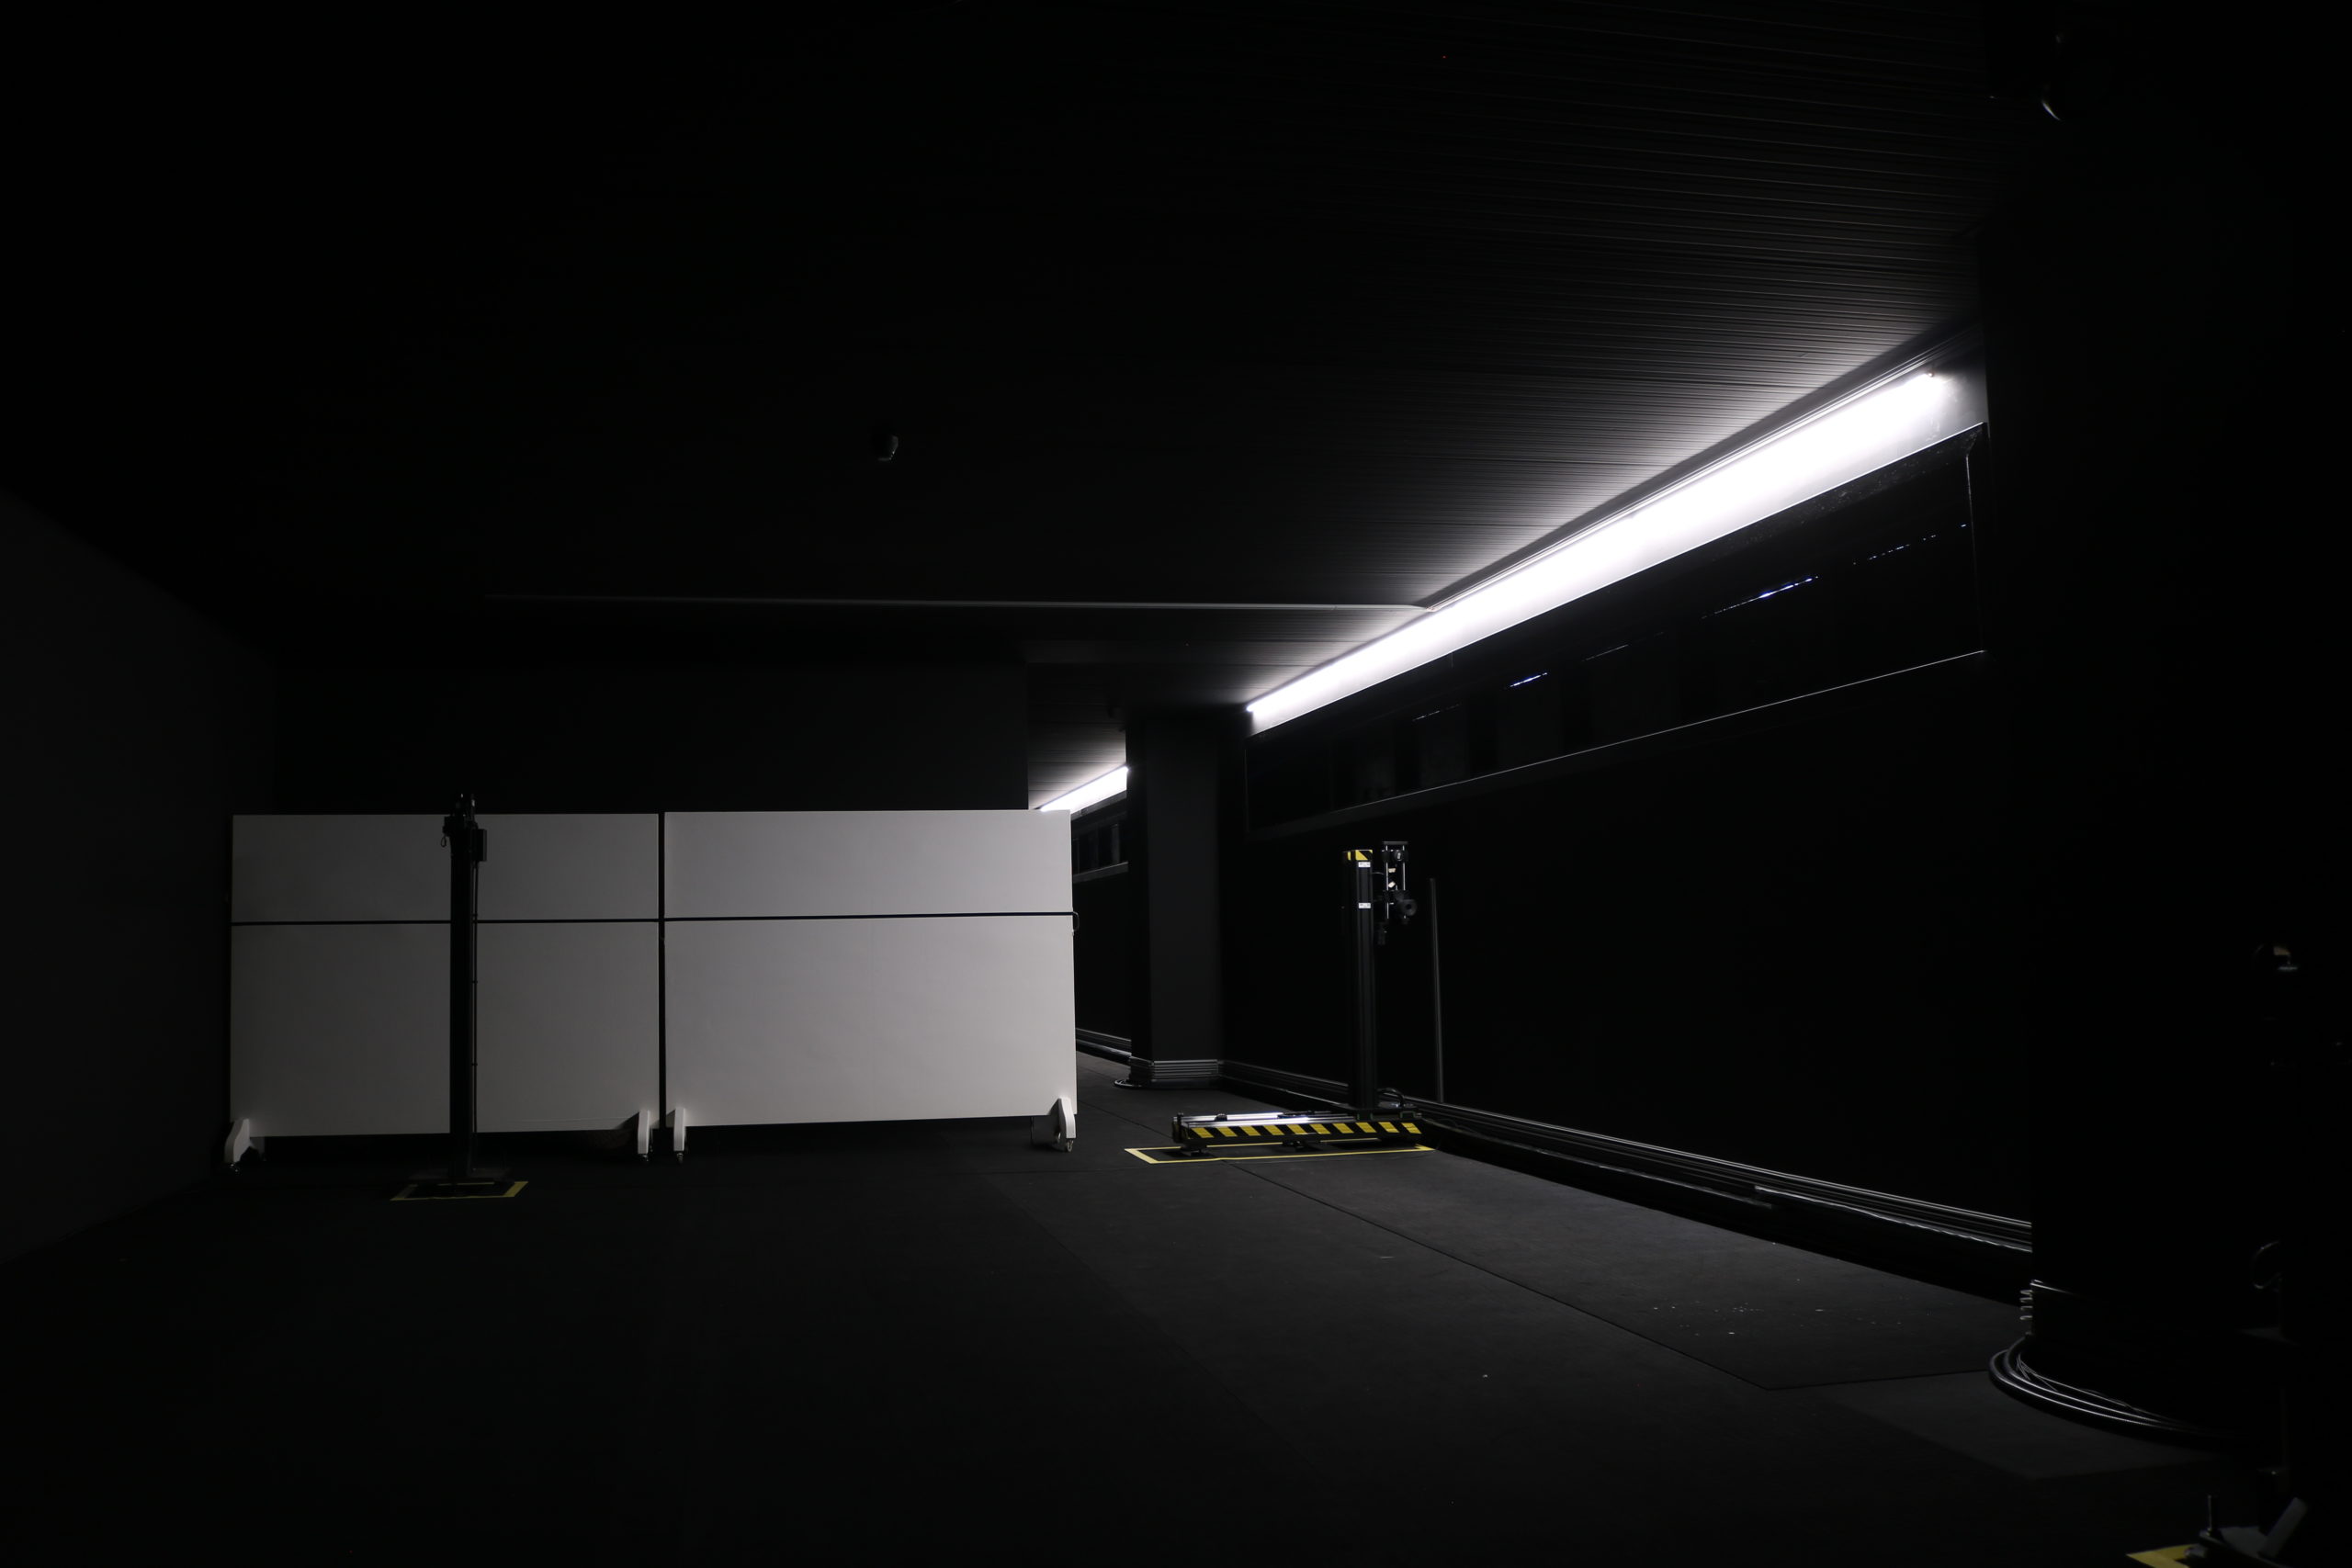
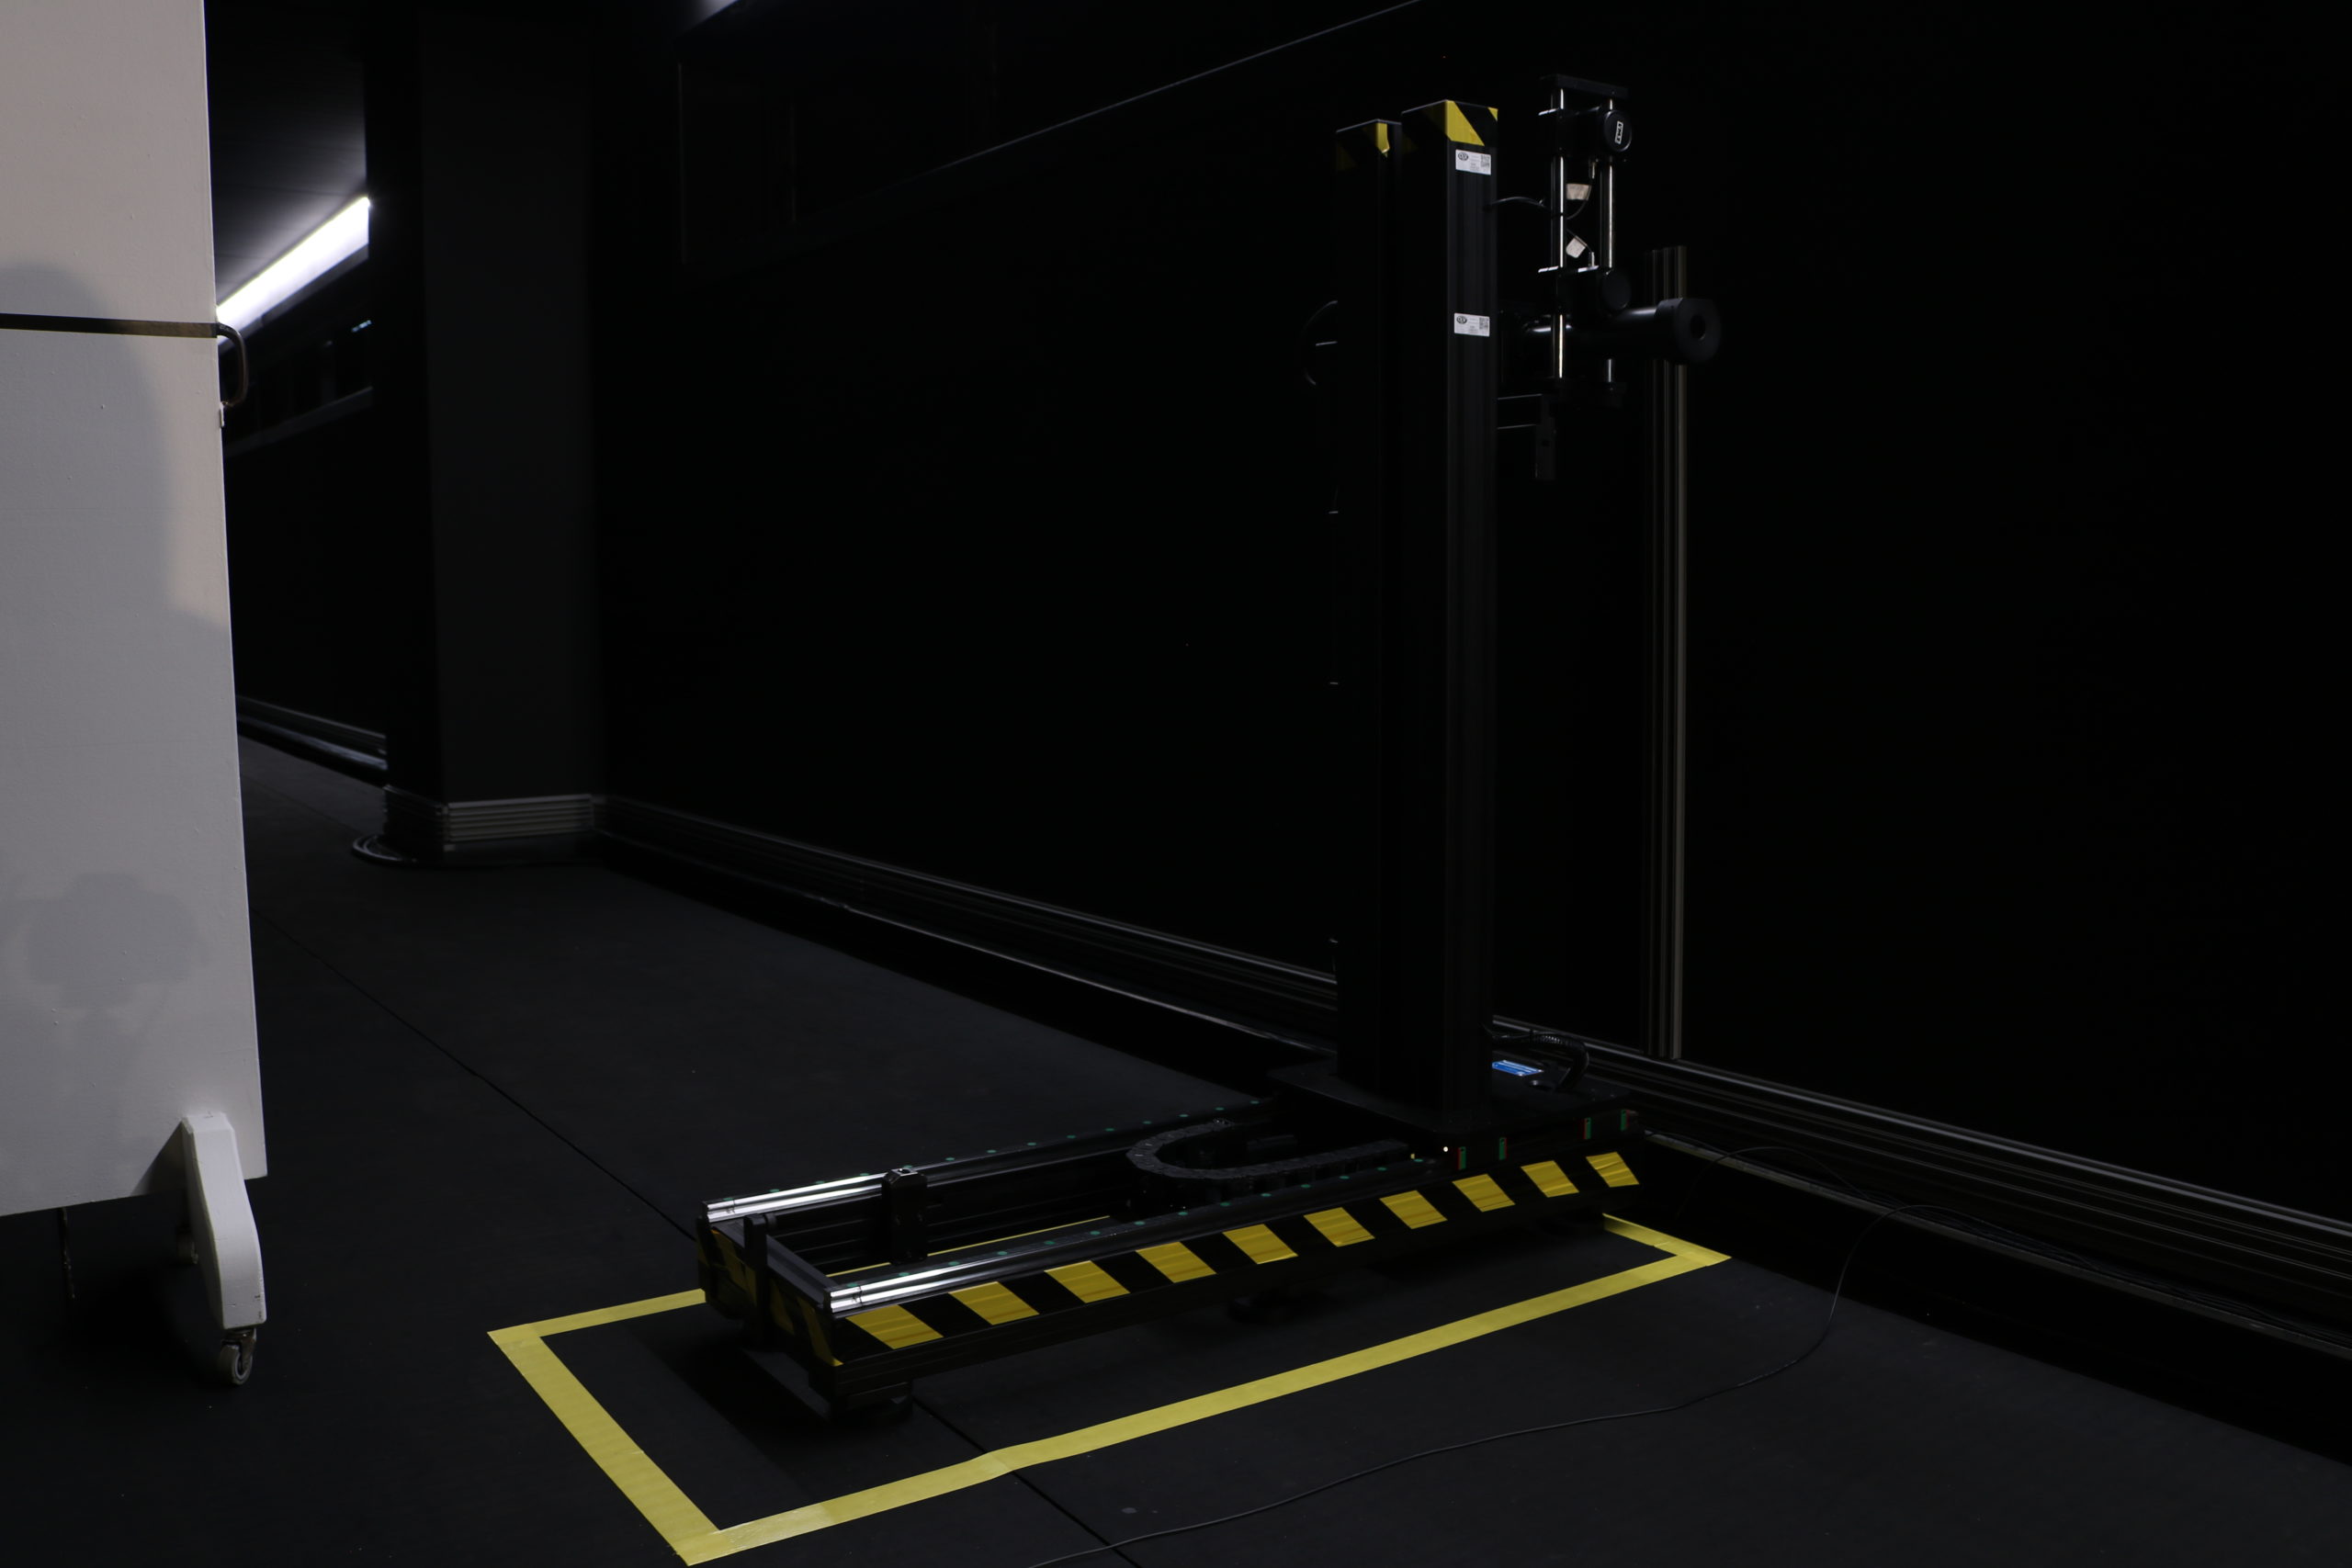
All this takes place in a completely dark environment, where the residual ambient light is accurately measured and monitored in order to compensate for it. Within this environment there is a photogoniometer on which to place the object under test. Using special software, the goniometer plate is rotated and positioned at the required angular coordinates, taking as reference a “zero” position defined at the start of the test. After positioning the device, the goniometer photocell measures the lux or the candles associated with that position.
A data processing software compares the measurement with what is required by law or customer specifications. With this measuring instrument we are able to validate the luminous distributions of the luminaires according to all the worldwide legal regulations (Europe, USA, China, Taiwan, etc.) for automotive lighting and light signaling devices. However, since the system is totally flexible and programmable, it is possible to define tests and measurements on customer specifications and / or with respect to regulations of other sectors.
In addition to punctual measurements, along lines or areas of the light distribution, we have the possibility to completely map the light beam emitted by a device and to represent it by means of levels of intensity or illuminance (isolux), thus generating a 2D graph. These graphs represent the light distribution of the luminaire as if it were projected onto a vertical plane. It is then possible to process the maps in order to view the projection of the light beam on the ground, thus obtaining the horizontal distribution of illuminance as if it were seen from above. This representation mode is commonly called “Bird’s Eye View” and is useful for evaluating the performance of high and low beams on the road surface. In this case, it is possible to freely define the mounting parameters of the floodlights with respect to the ground, in order to respect the customer’s specifications.
Among the various equipment available, we have systems for measuring the CIL, ie the Luminous Intensity Coefficient [mcd / lux], for catadioptric systems, ie systems designed to reflect light in the same direction of incidence. For the measurement, the retro-reflecting devices are positioned on the photogoniometer and illuminated by a standard illuminant A, i.e. a uniform light beam with a color temperature of 2856 K, i.e. equal to that of incandescent sources. The photocells, positioned next to the illuminating light source and angled with respect to this at the angles required by the ECE or SAE regulations, are able to detect the intensity reflected by the reflex reflector system.
THE LATEST INNOVATIONS FOR OUR PHOTOMETRIC LABORATORY


Recently CEVLAB, in addition to the type A photogoniometer normally used in the automotive sector, has equipped itself with a photogoniometer capable of performing measurements according to type C photometry, usually used in the civil lighting sector. This allows us to measure the photometric solidity of luminaires intended for general lighting and to make photometric data available to customers in Eulumdat (* .LDT) or IESNA (* .IES) format.
To guarantee our customers accurate and reliable measurements, CEVLAB subjects all the equipment and instruments of the photometric laboratories to periodic verification and calibration, based on the frequency of use and in any case within two years of the last calibration.
All this allows us to always respond accurately and efficiently to the requests and needs of our customers for light measurement.

