CEVLAB USES 3D LASER SCAN TO REDUCE SCRAP
A COSA SERVE IL CONTROLLO DIMENSIONALE DEGLI STAMPI PRE E POST STAMPAGGIO?
The dimensional check over a mould before and after pressing allow us to detect any critical issue on the printed product as well as to reduce production scraps. Thanks to this process, it is possible to promptly intervene over the mould whenever some defects or variance from the CAD model may emerge from the examination.
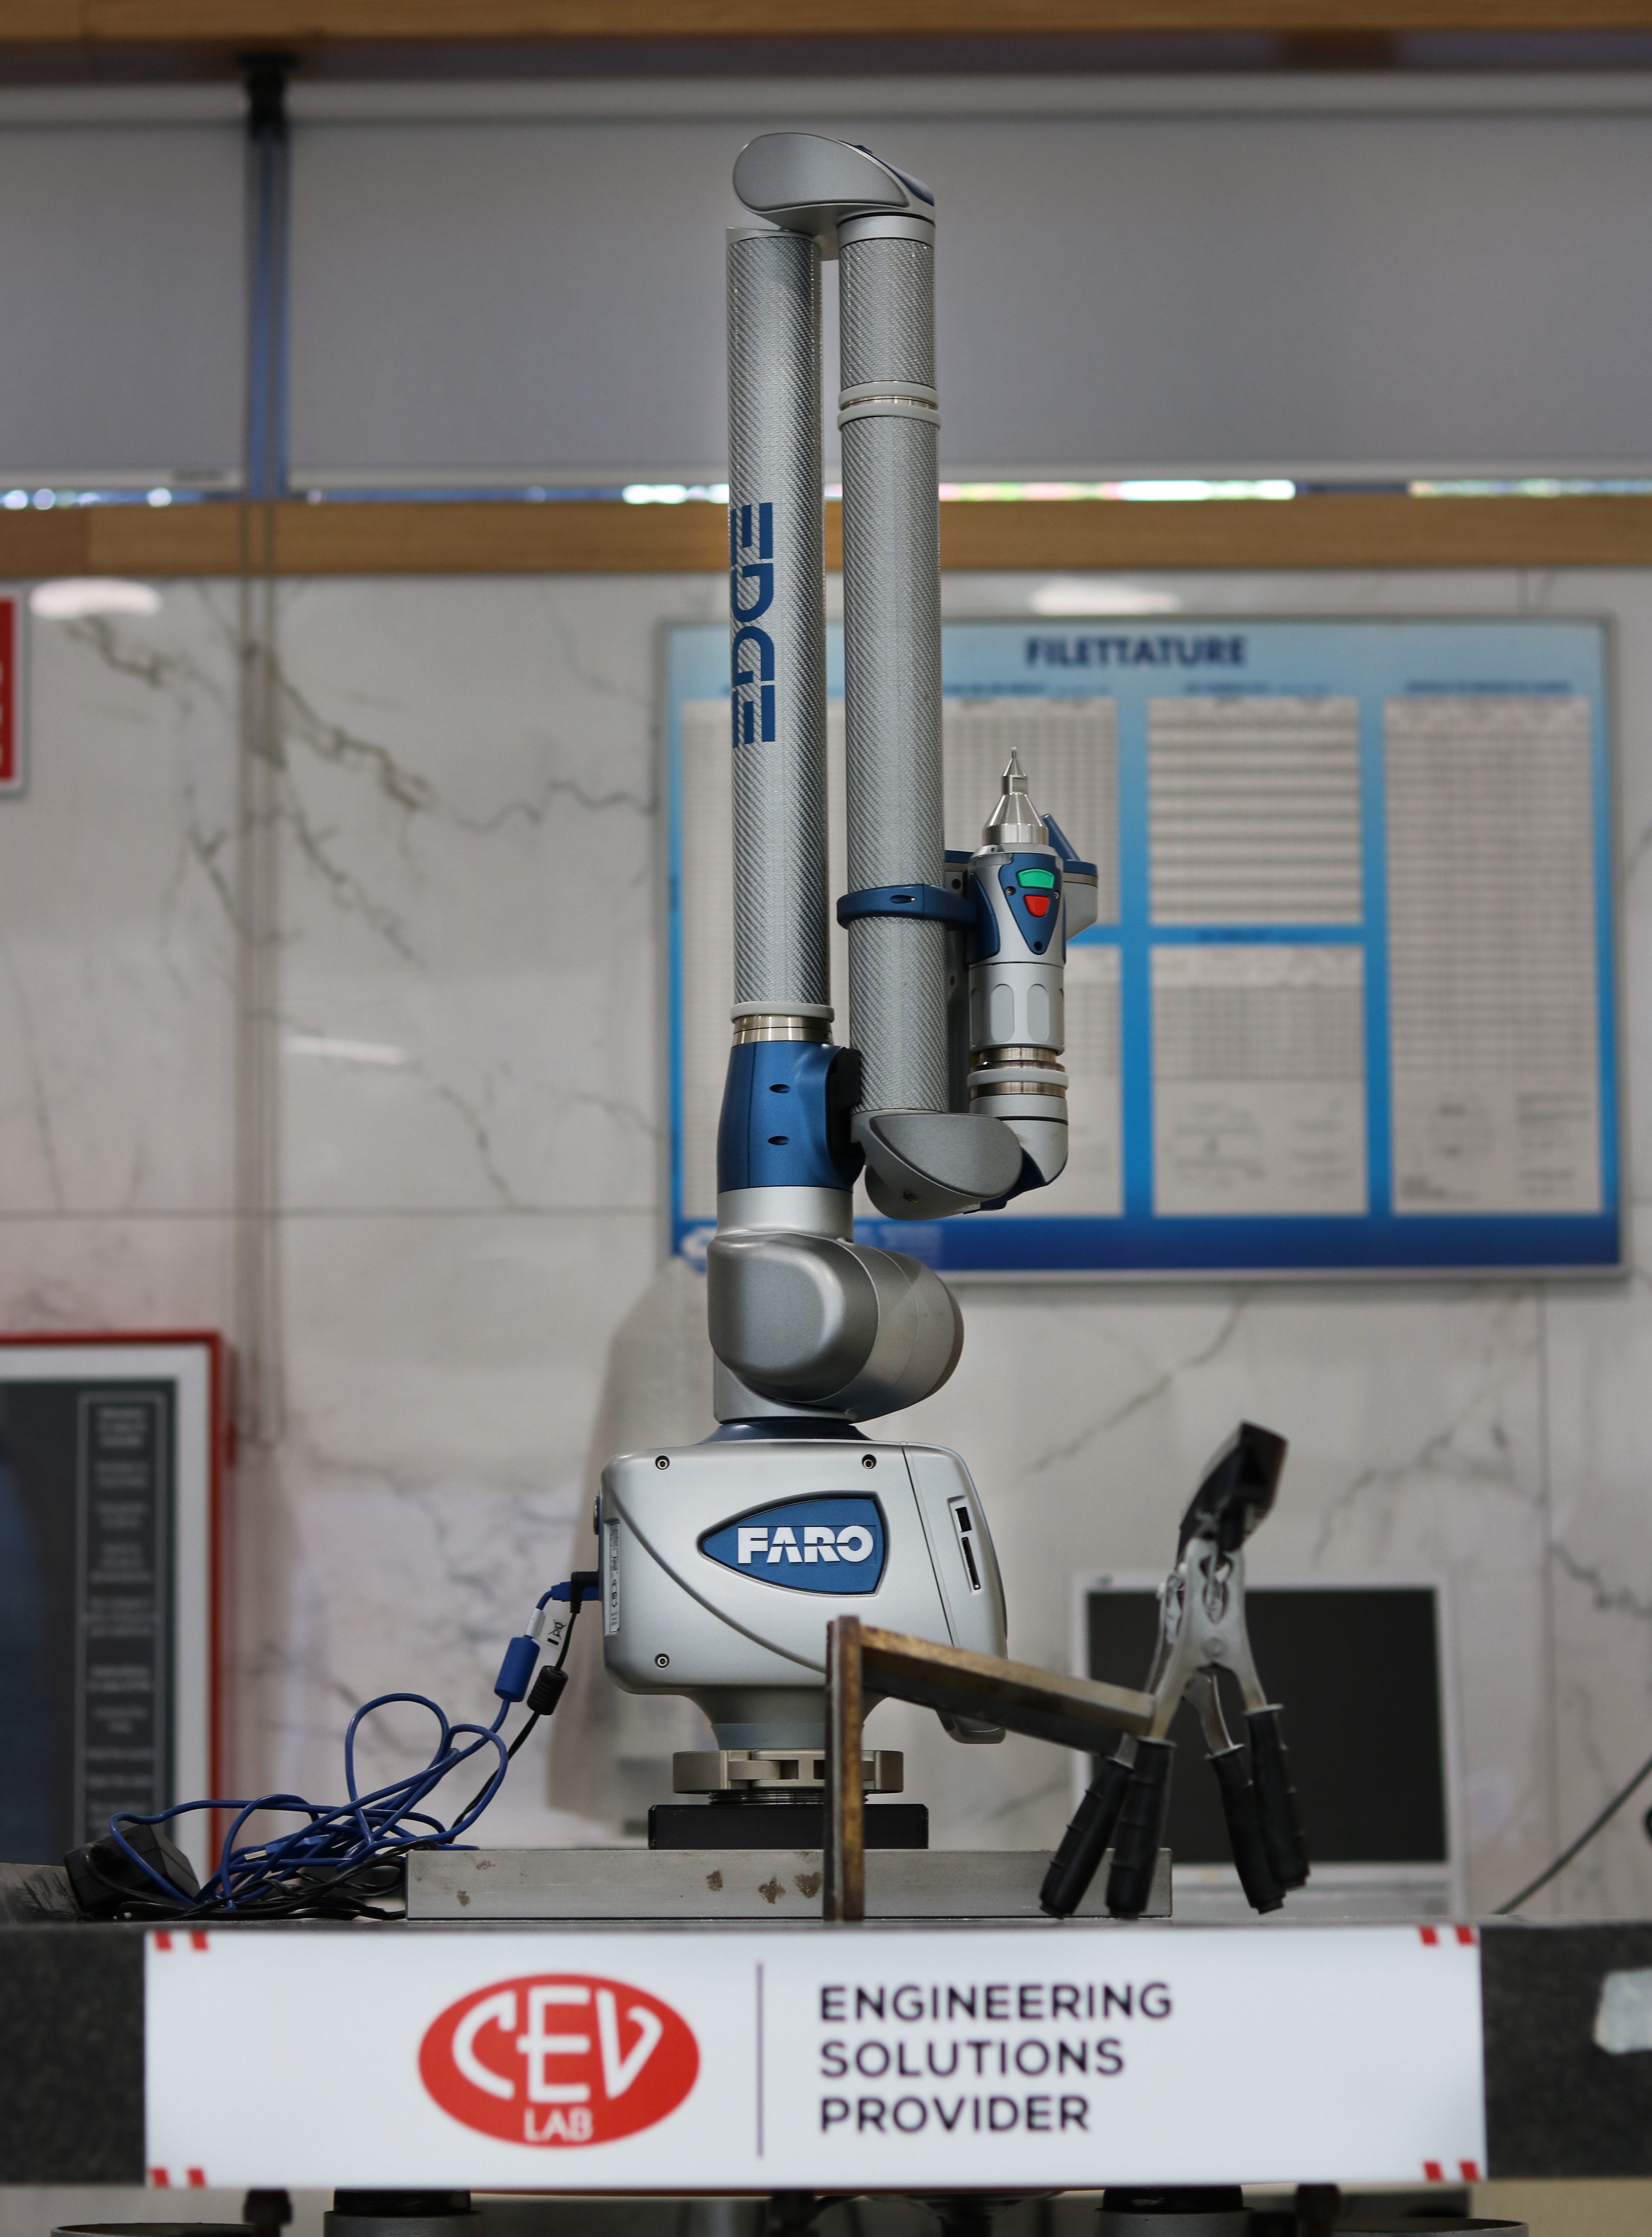
In our CEVLAB laboratory these examinations are realized through a portable CMM (Coordinate Measuring Machine) machine, which is equipped with a laser scan probe. This one, in particular, guarantees high 3D scan performances which allows to obtain a detailed surface measurement (surfaces without contact) as well as to allow to realize the examination directly in the supply chain on the press.

WHY DO WE USE THE FARO EDGE SCAN ARM AND THE POLYWORKS SOFTWARE?
The FARO EDGE SCANARM (equipped with Laser Line Probe) is a tool which guarantee us the fastest acquisition of high definition point cloud as well as high accuracy. This is possible thanks to the wide scan range and the 2.000 points for each scan line.
This instrument allows us to reconstruct in the shortest time and with extreme precision the three-dimensional geometry of the mould that we can weight against its CAD model.

Trough the POLYWORKS managing software our technicians (which are properly trained trough specific training courses) are able to realize the following actions:
- 3D laser scan
- Easily verify the products quality trough 3D inspections
- Comparison with CAD model
- Dimensional analysis
- Reverse engineering
- Provide results in short time
Technical characteristics of the measuring 3D FARTO EDGE SCANARM:
- Accuracy: ±25 µm
- Repeatability: 25 µm, 2σ
- Effective scan range: minimum distance 80mm, maximum distance 150mm
- Points for each line: 2.000 point/line
- Scan frequency: 280 frame/second x 2.000 line points = 560.000 points/second
